Prior authorization is often handled reactively: a provider orders a test, someone realizes authorization is needed, staff scramble to submit it and the patient waits. Without a defined workflow, authorizations get missed, delayed or submitted incomplete, leading to rescheduled appointments and denied claims.
A structured prior authorization workflow turns chaos into a predictable process. Here’s how to build one.
Step 1: Capture the Order
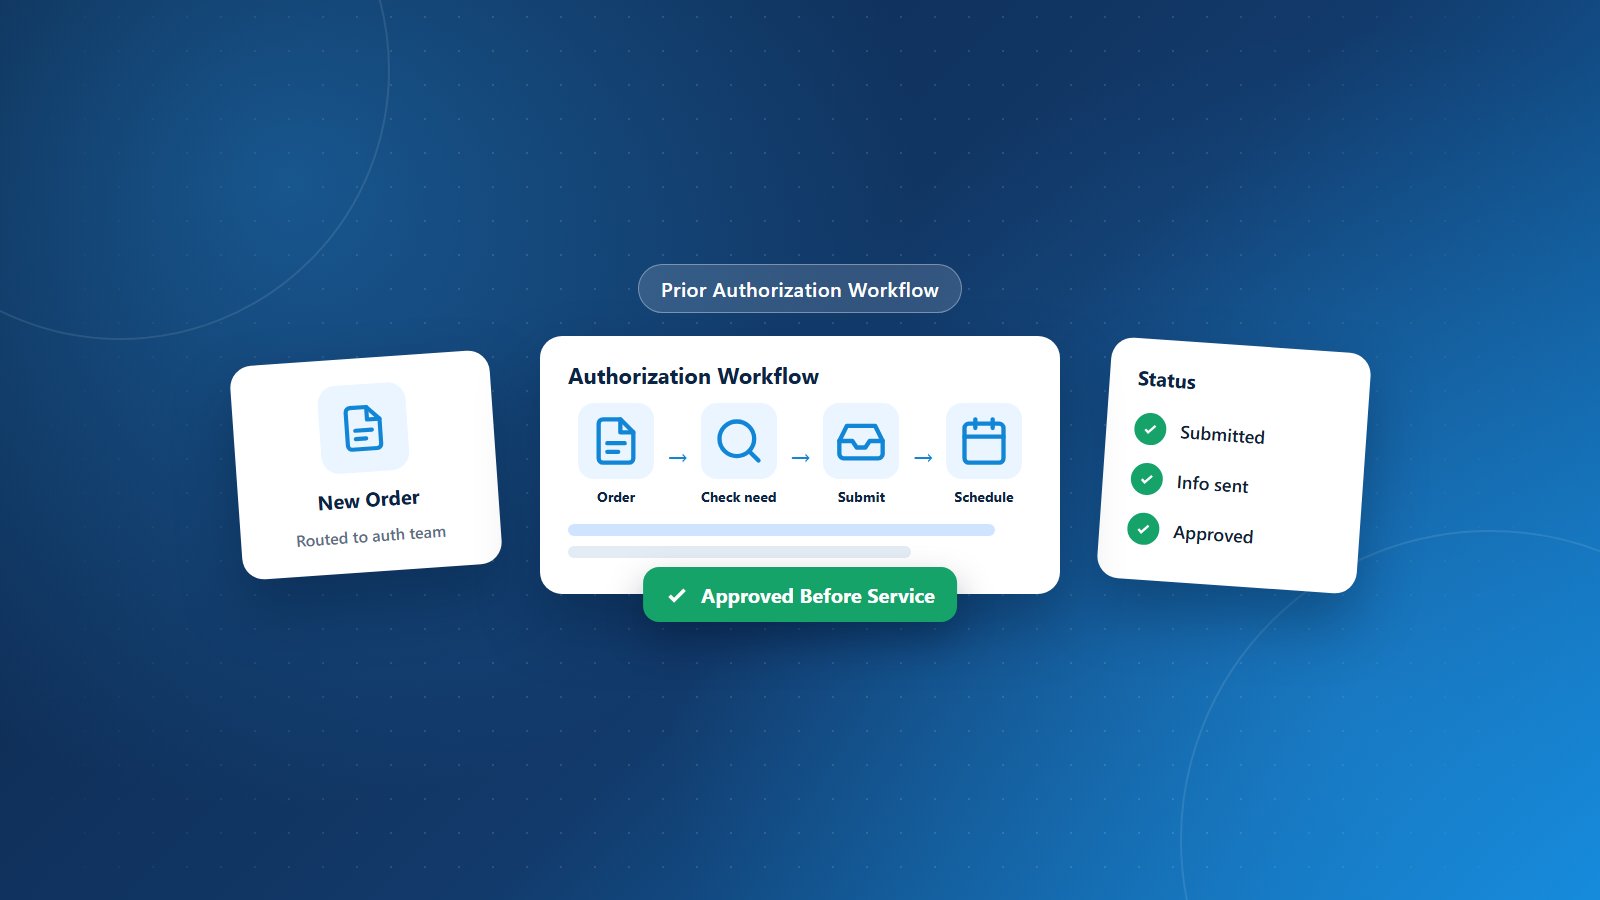
The workflow begins when a service is ordered. Make sure orders for tests, procedures, imaging, specialty drugs, therapy and equipment flow automatically to the authorization team, ideally through an EHR task or work queue.
Step 2: Determine Whether Authorization Is Needed
Check the patient’s plan and the service against your payer authorization reference. Many electronic tools can indicate whether authorization is required. If it isn’t required, document that verification and move the order to scheduling.
Step 3: Gather Clinical Documentation
Collect what the payer needs: recent notes, diagnosis, test results, prior treatments and the clinical rationale. Use payer-specific criteria to guide what to include. Missing information is the most common reason for delays.
Step 4: Submit the Request
Submit through the fastest available channel, usually an electronic portal or integrated tool, and record the submission date, reference number and expected turnaround time.
Step 5: Track Pending Requests
Maintain a work queue or tracking log of all pending authorizations. Follow up on requests that exceed expected turnaround times and respond immediately to requests for additional information.
Step 6: Communicate the Outcome
When approved, record the approved codes, units, dates, provider and location, then notify scheduling. When denied, notify the ordering provider promptly to decide on a peer-to-peer review, appeal or alternative treatment.
Step 7: Schedule Within the Authorization Window
Schedule the service within the approved dates and confirm details match. If the service changes or is delayed, update or extend the authorization.
Step 8: Verify Before Service
On the day before or day of service, confirm the authorization is still valid and matches the planned service.
Step 9: Link Authorization to the Claim
Include authorization numbers on claims when required, and make sure billed services match what was approved.
Step 10: Measure and Improve
Track authorization volume, turnaround times, approval rates, denial reasons and authorization-related claim denials. Use the data to improve workflows and staff training.
Roles and Responsibilities
- Providers: Document clinical rationale and participate in peer-to-peer reviews.
- Authorization specialists: Manage submissions, follow-up and tracking.
- Schedulers: Schedule only after authorization is confirmed.
- Billing staff: Confirm authorization details on claims.
For more tips, see our prior authorization best practices.
Prior Authorization Support From PRCM
Physicians Revenue Cycle Management handles preauthorization and prior certification with federal, state and commercial payers, along with eligibility verification. Our practice management and revenue cycle teams build workflows that get approvals faster.
Ready to streamline approvals? Let’s connect.