When the MIPS performance year ends, the submission window opens. For many practices, this is when stress begins: logging into the Quality Payment Program, gathering data from the EHR, choosing what to submit and hoping nothing goes wrong before the deadline. With a clear step-by-step process, MIPS data submission becomes far more manageable.
Here’s a practical guide to submitting your MIPS data accurately and on time.
Step 1: Confirm Who You’re Reporting For
Start by confirming the MIPS eligibility status of every clinician and the practice as a group. Eligibility can vary by clinician and by whether you report individually or as a group. Note any clinicians who are exempt or qualify for special status.
Step 2: Decide How You’ll Report
Choose your reporting level (individual, group or another approved option) and the submission method for each category. Options may include submission through your EHR vendor, a qualified registry, claims-based reporting for eligible small practices, or direct entry and file uploads.
Step 3: Check Your Access
Make sure the staff member or vendor submitting data has an active account with the correct role and permissions for your practice. Access issues are a common last-minute obstacle, so resolve them early.
Step 4: Prepare Quality Data
- Run final reports for each quality measure covering the full performance period.
- Confirm data completeness requirements are met.
- Review performance rates for anything unexpected.
- Check that measure specifications match the year you’re reporting.
Step 5: Gather Improvement Activities Documentation
List the activities you’ll attest to and collect documentation showing each was performed for the required period. Save it in a central location in case of audit.
Step 6: Prepare Promoting Interoperability Data
If applicable, pull Promoting Interoperability measure reports from your certified EHR for the selected period, confirm your security risk analysis was completed and prepare required attestations. If you qualify for an exception, confirm the application status.
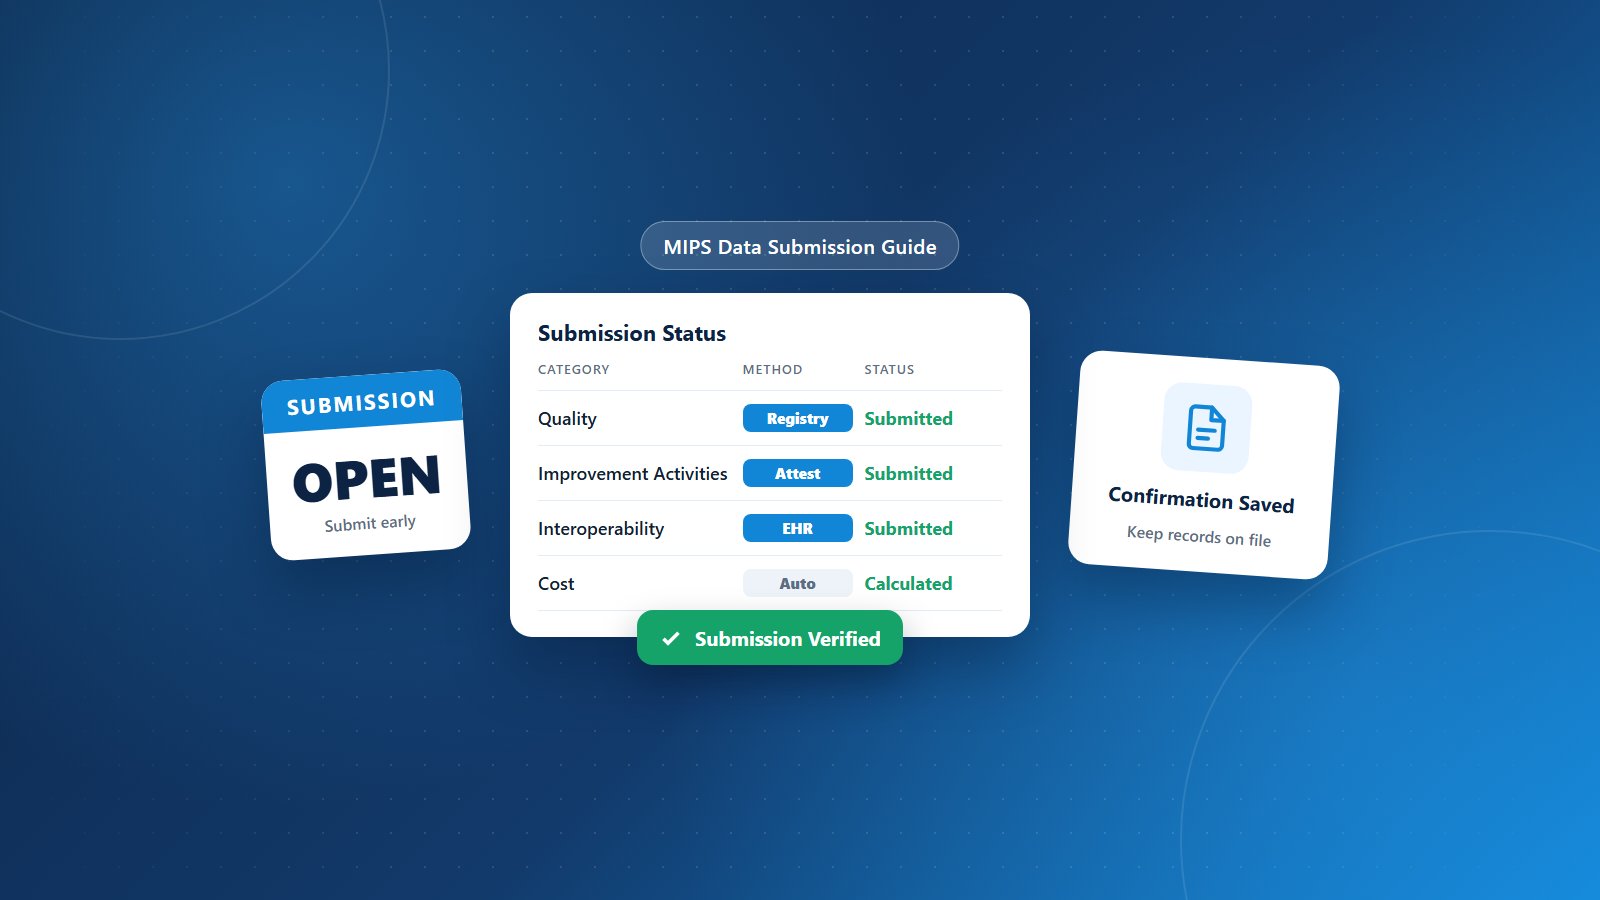
Step 7: Submit Each Category
Submit or upload data for each category through your chosen method. If a vendor or registry submits on your behalf, confirm in writing that submission is complete.
Step 8: Verify Your Submission
After submitting, log in to review what was received. Check that all categories show data, measures appear correctly and the right clinicians are included. Save confirmation screens and reports.
Step 9: Review Preliminary Scores
Preliminary scoring information may be available after submission. Review it for errors and correct any issues before the submission window closes.
Step 10: Keep Records
Retain submission confirmations, reports and supporting documentation for the required retention period. Good records protect you if your submission is reviewed.
Common Submission Pitfalls
- Submitting under the wrong taxpayer ID or clinician identifiers.
- Uploading data for the wrong performance period.
- Missing a category entirely.
- Waiting until the final days of the window.
For a pre-submission checklist, read our MIPS reporting checklist.
Let PRCM Handle MIPS Submission
Physicians Revenue Cycle Management’s Doctors MACRA Services manage the full submission process, from data validation to final confirmation, so your practice’s quality work is accurately reflected in your score.
Submission window open? Let’s connect.